Choosing between a five-panel and six-panel performance cap starts with your preferred front-panel layout and silhouette. Neither construction automatically delivers a better fit or better performance. The pattern, measurements, material, reinforcement and visor all influence the finished cap.
Start with the panel layout
A five-panel cap can offer a broad front area that is useful for certain logos and patches. A typical six-panel baseball construction includes a seam down the front, which becomes part of the decoration surface. Five-panel is also a broad description: ask for photos or a sample of the exact pattern being proposed.
For a brand buyer, the useful question is whether the chosen front panel supports the logo at its actual size. A large patch, fine lettering and a raised embroidered mark may lead to different decisions. Review the front as a complete assembly, including reinforcement and backing.
Specify the fit separately
Panel count does not define crown depth, head size or visor shape. Two six-panel caps can fit very differently. Record the measurement method along with the measurements: where a tape starts and finishes matters as much as the number written on the specification.
Use a physical cap as the reference where possible. Ask the same target wearer to assess the development sample, and note whether the concern is depth, pressure, front shape or closure range. A comment such as “make it bigger” can lead to several different interpretations.
Match ventilation to the pattern
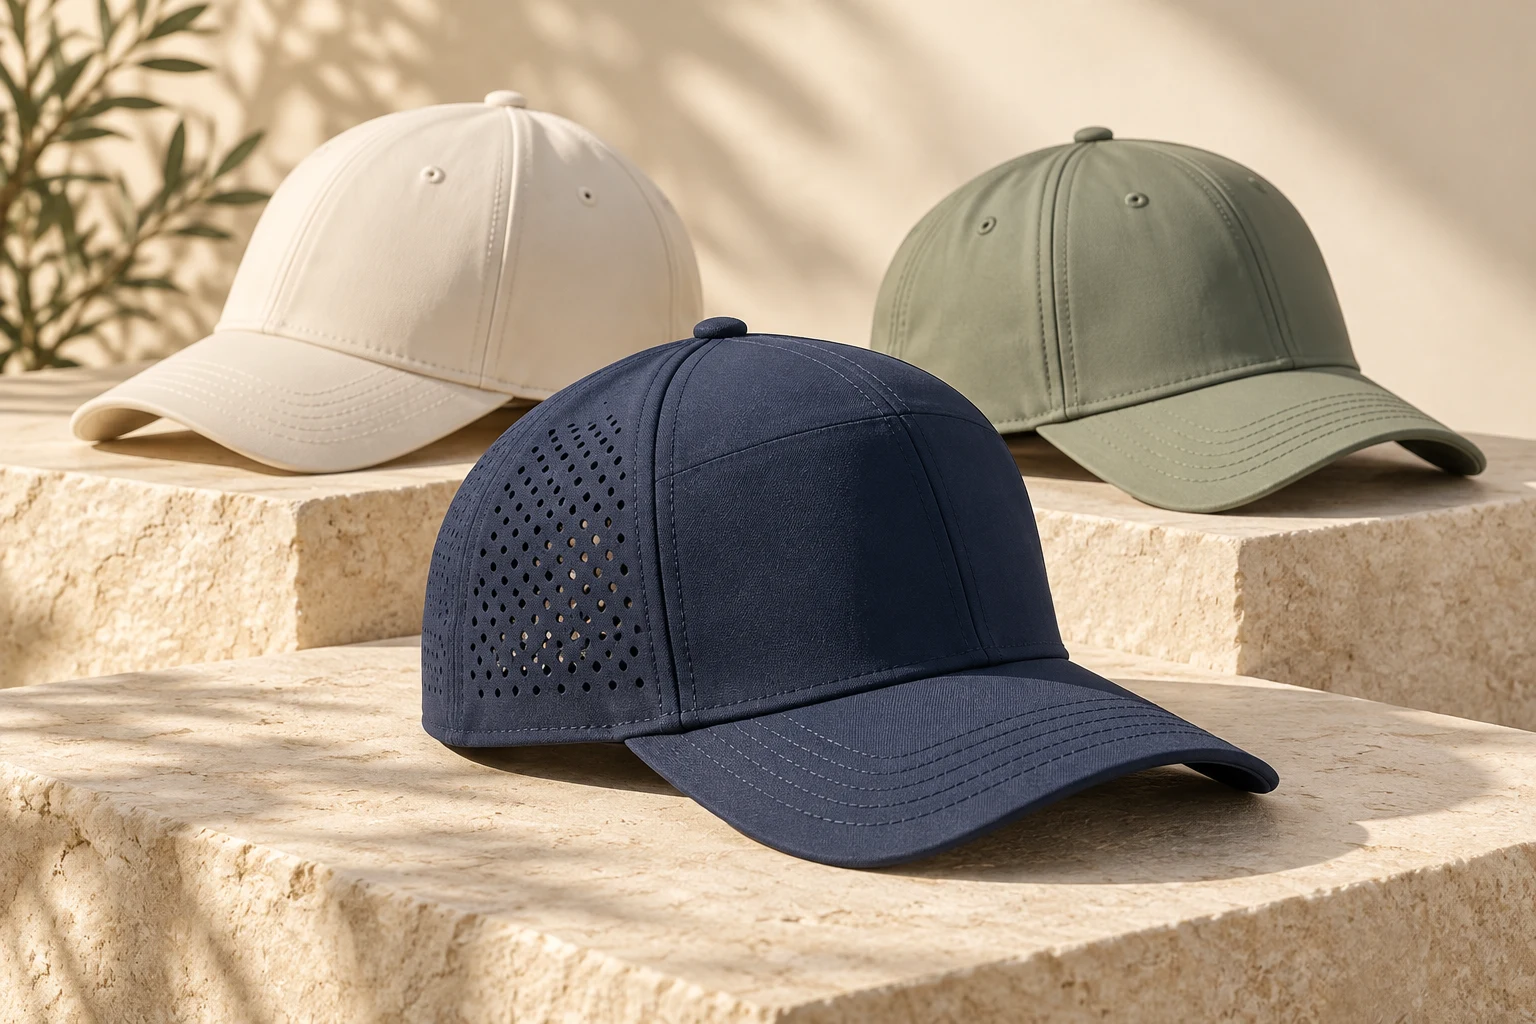
Laser holes and mesh change how a panel behaves and looks. Review their position relative to seams, logo areas and reinforcement. Assess the complete cap: a perforated shell with a heavy lining or thick sweatband may feel different from what a material image suggests.
Moisture management, air permeability and drying describe different properties. If a claim is important to your launch, define the evaluation before selecting the material. For context, AATCC TM195 addresses liquid moisture management of textile fabrics; it is not a general test for every aspect of cap comfort.
A sample review checklist
- Confirm the front-panel layout and overall silhouette.
- Measure the approved fit using a repeatable method.
- Review the logo at actual size, including its position over seams.
- Check the inside finish, backing and sweatband comfort.
- Wear the cap and assess the adjustment range and visor shape.
- Record the changes clearly before approving the next stage.
At JoinTop, we can develop both five-panel and six-panel directions. Start with our custom performance cap options, then compare fabric and logo techniques against your reference. Standard custom samples usually take 20–25 days after the brief, materials and payment are confirmed; special components can require longer.
Make the brief specific enough to quote
Send the chosen pattern or reference cap, quantity per color, logo file, target customer and delivery date. When comparing quotations, keep the materials, trims, decoration and shipping basis consistent. A panel-count label alone is not enough to compare two products.